Keith Locke
Wiring an ATX Power Supply to make 12V power
Everything here is for informational purposes only.
If you make one of these, you do so at your own risk. Nothing here should be attempted unless you understand what you're doing and are willing to assume all risk. If you don't know what you're doing, go watch TV or something.
There are several places on the internet where you can find directions for converting an ATX power supply to a DC
power source. Search and you'll find them. I merely am putting up some pics of the one I converted.
The power supply used was a DiabloTek DA series 250, which is a 250 watt power supply. These are pretty cheap... like
about 10 to 12 bucks cheap.
A source of 12 volt power can be used for lots of different projects. Some people charge car batteries with them, although I wouldn't recommend it. They can be used for removing rust... search and read and you're on your own for risk. They can be used for amateur radio power. Lab testing is another use.
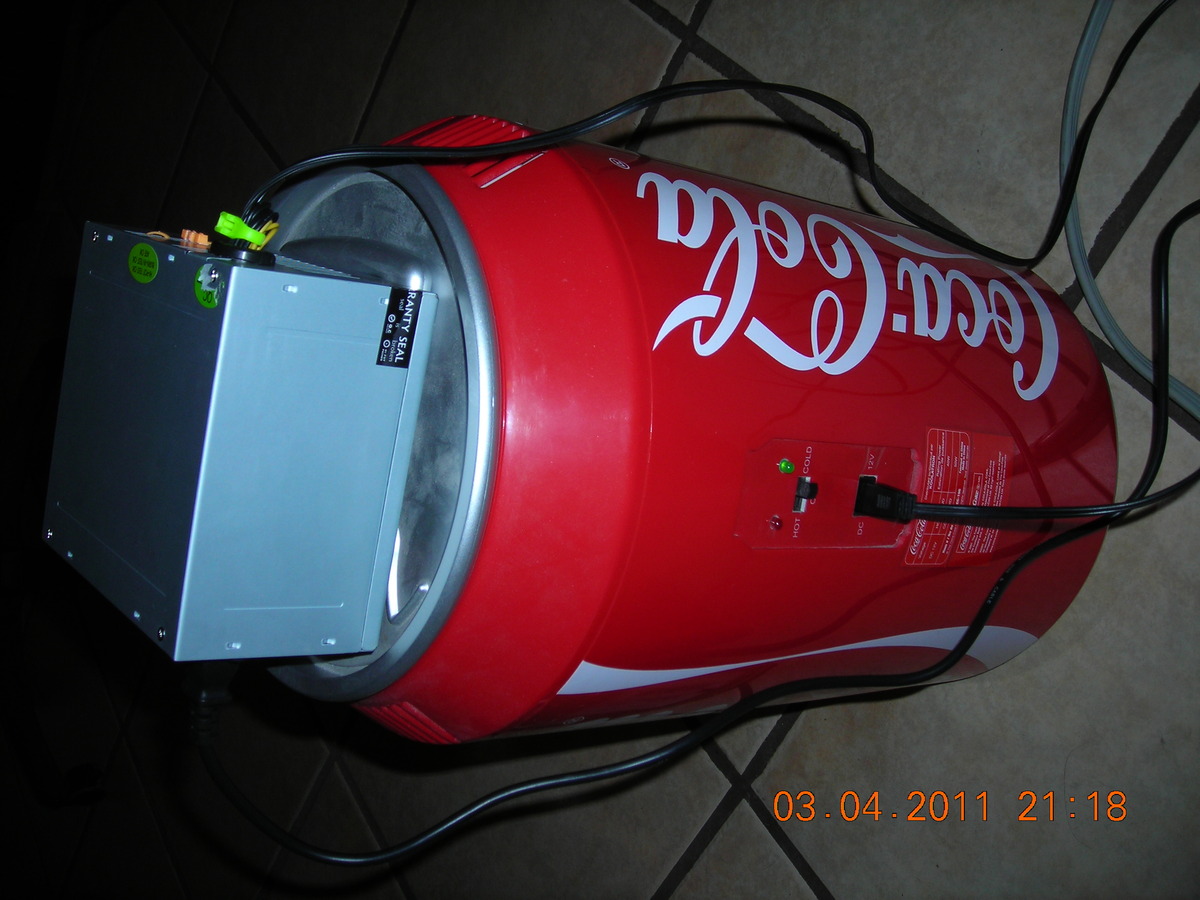
In my case, it was to replace a 12V transformer that came with a Coca-Cola thermoelectric cooler. Read about thermoelectric coolers and the Peltier effect here My wife was using it to keep drinks cool for clients, and it had worked for about a year when the transformer broke. Taking it back to the store was a nonstarter, and getting a new transformer was going to be COSTLY--something that I like to avoid. (Actually, the best deal that I had found was about $70 plus shipping. This didn't make sense for a cooler that only cost about $100.) What to do!?
A little reading and searching took me to several spots with information on how to make my own transformer using an ATX power supply.
Back to top of page
Photos of the wiring
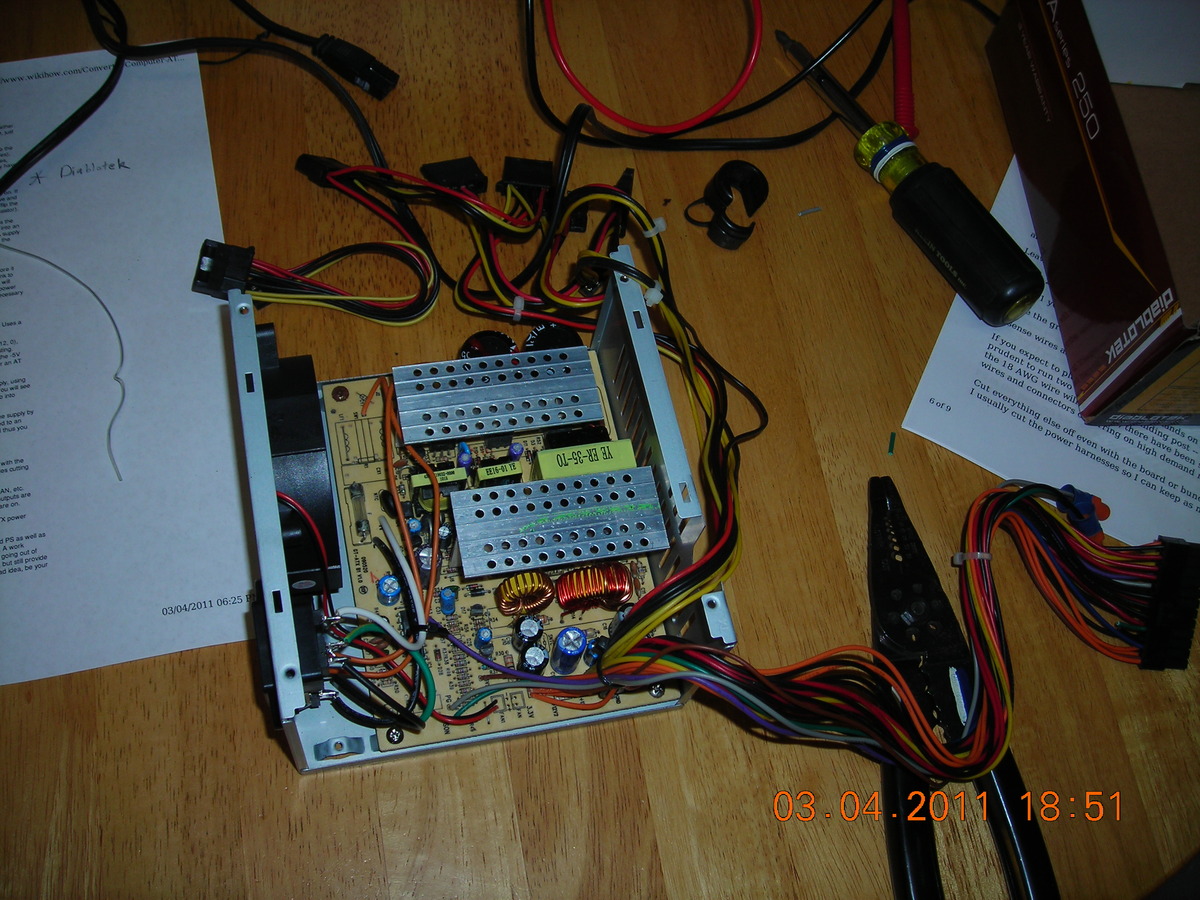
As you can see, this is a kitchen table project.
I have two different sets of notes printed. All the tools are ready to rip.
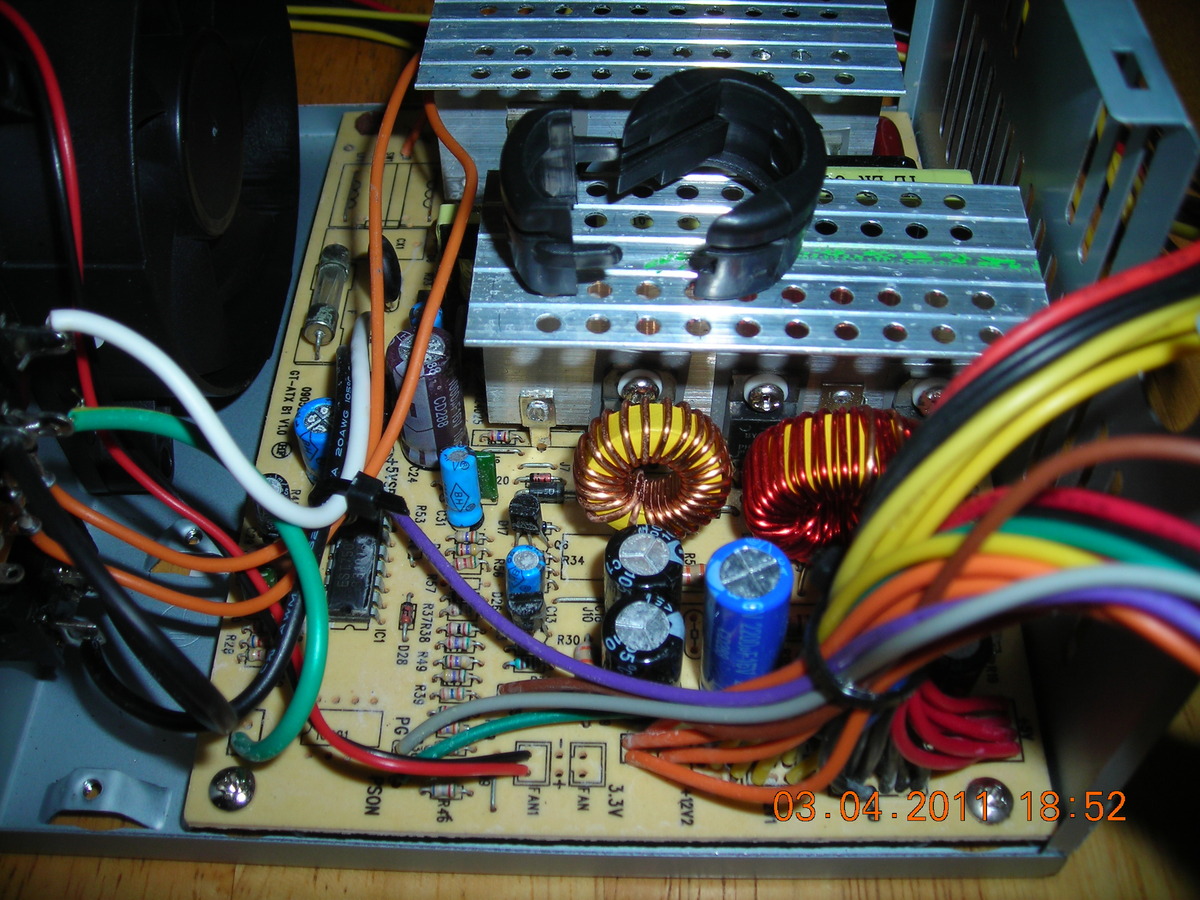
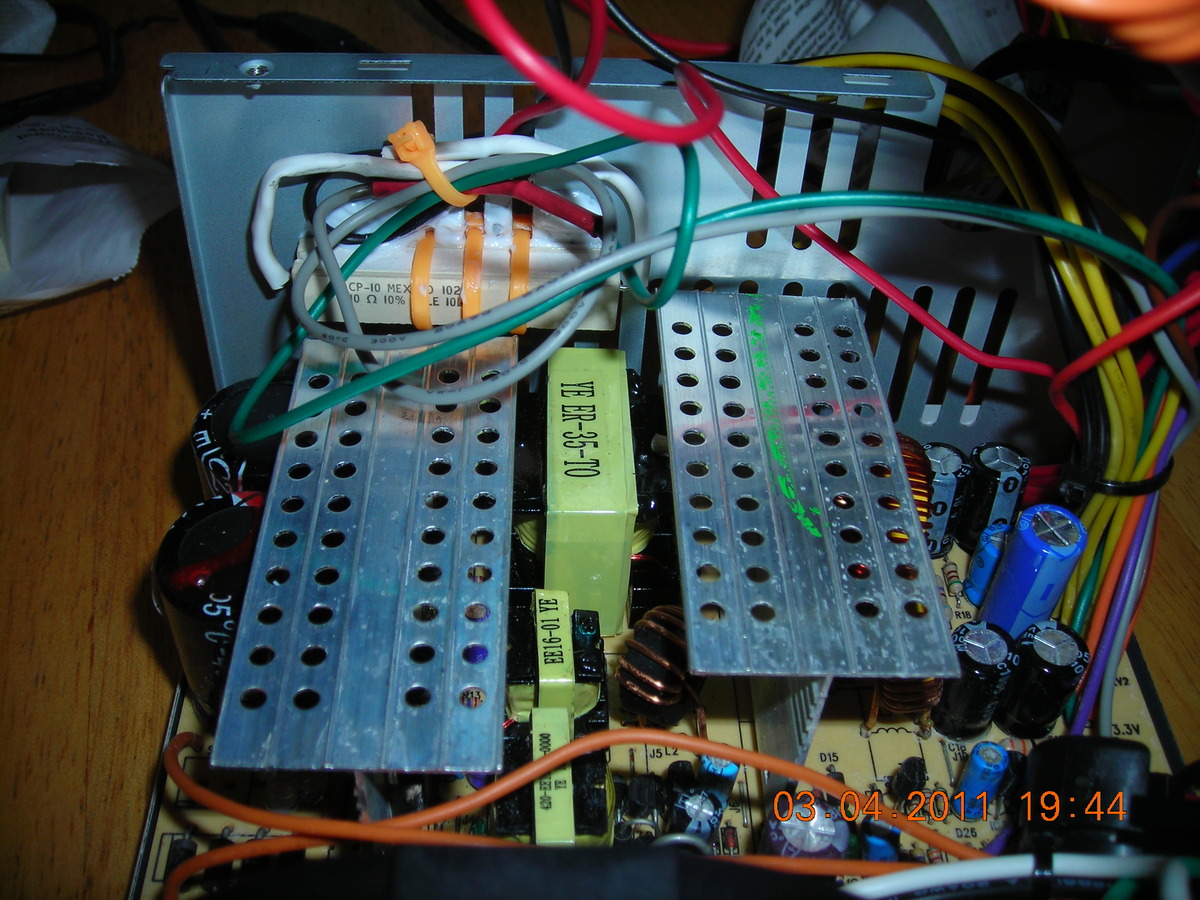
Here's a closeup photo of the power supply
On the DiabloTek--this one anyway--the gray wire must be jumped to the green wire for it to work.
Black and yellow give you 12 volts. I only wanted 12V; therefore I used only the black and yellow wires for power.
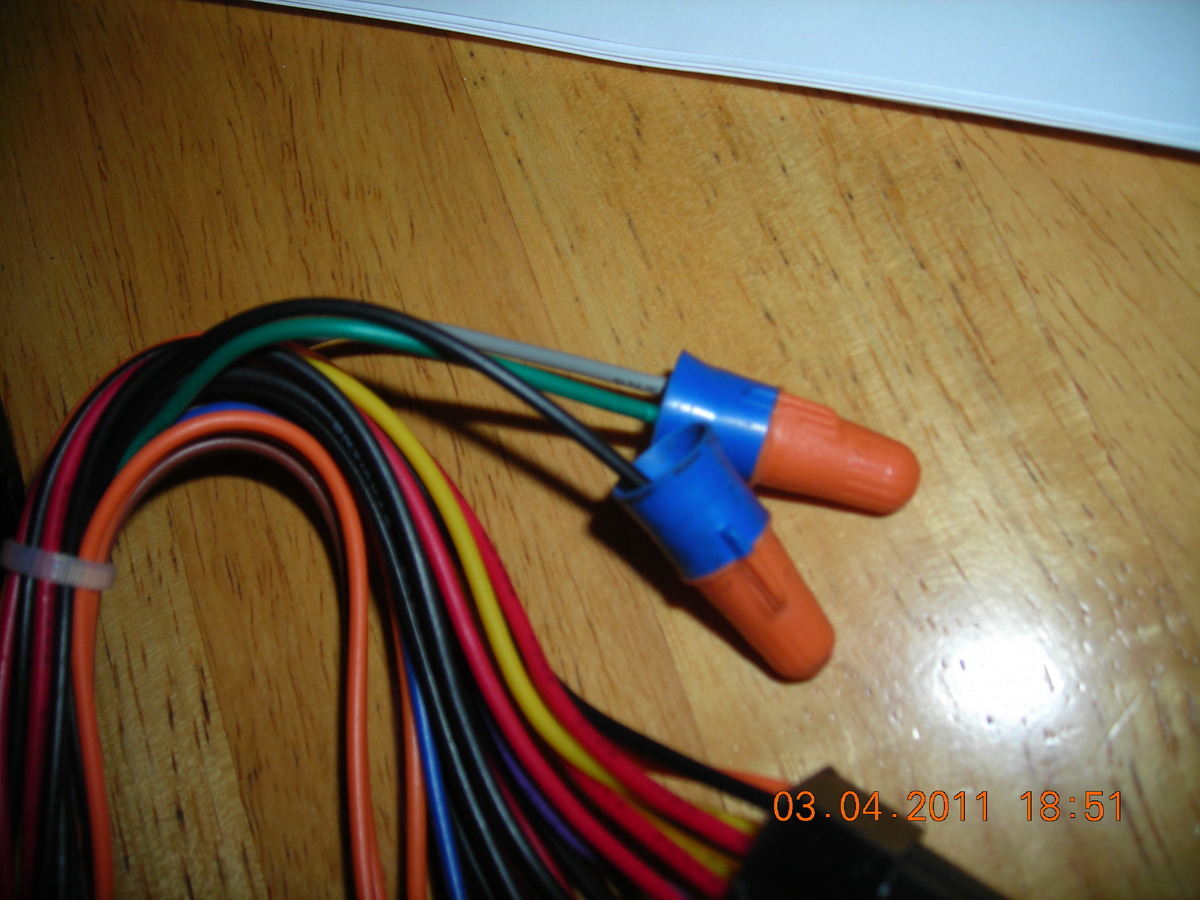
I joined all those yellow wires together and all those black wires together. That's because if you want to get all the watts of power out of one of these bad boys, then you'd better use all of the wires. Otherwise you're going to overload something. A hard disk drive, for example, won't draw nearly the current that a thermoelectric cooler will draw. That's obvious, but it's easily overlooked if you don't have your head in the game.
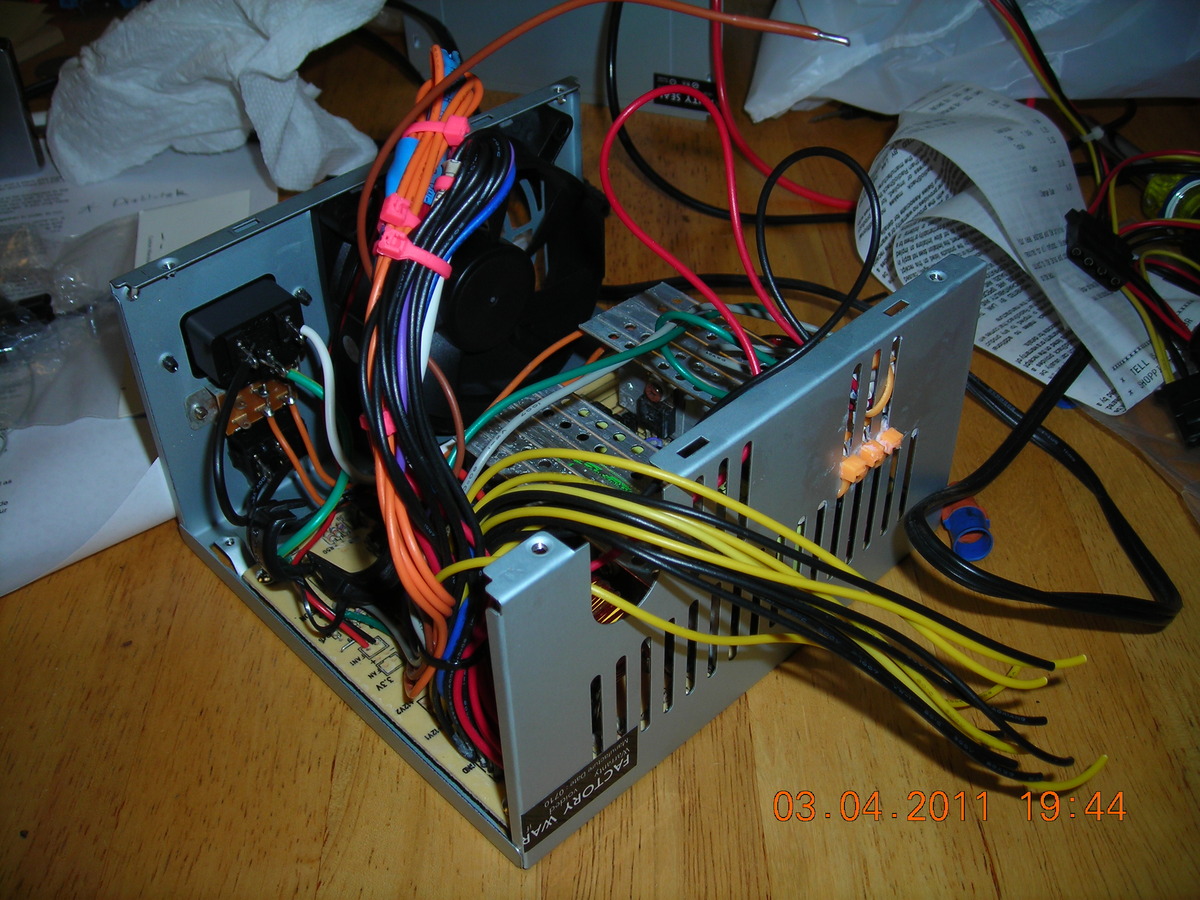
This photo shows the resistor hooked up. The resistor is to supply a small load to make the power supply fire up. It's "glued" to the frame with this sticky stuff called heat sink paste. The heat sink paste helps the heat from the resistor dissipate into the frame of the power supply. Then I used wire ties to hold the resistor against the heat sink paste. Refer to the information you find about which wires, etc.. I'm not explaining the wiring here. These are just some photos because the directions that I found were somewhat lacking in the photo department.
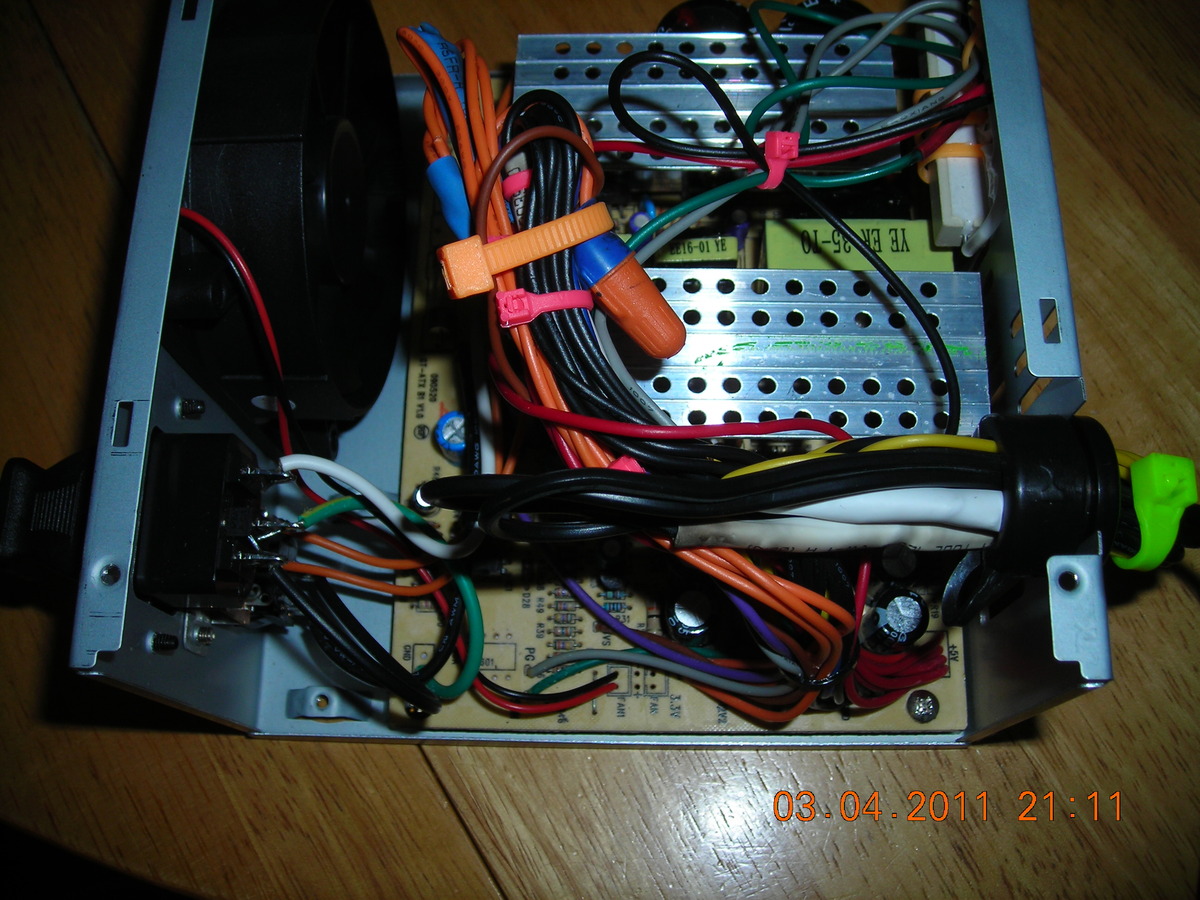
Everything is soldered and all the wire nuts are in place. I used wire ties to keep everything neat. The power wires were soldered to the pigtail from the old transformer. They are covered with big heat shrink.
The black grommet is back in place. The wires are bundled, as you can see, to keep them from pulling through the grommet. They are wire-tied on the outside of the grommet as well... the grommet was appropriate for all of the original wires yet it was somewhat oversized for just the 12V wires.
The little cooler is working away. I tested it overnight with a jar of water, and it worked splendidly. It's still working so
There, I fixed it!
I recently acquired another one of these power supplies. I'm going to try the electrolytic rust removal using washing soda later this fall...
A big "Thank you!!!" to all of my HVAC instructors. I learned a lot about electrical circuits from y'all!!! The confidence that comes from constructing and troubleshooting dozens and dozens of wiring circuits helps make a project like this a piece of cake.
The early bird gets the worm, but the second mouse gets the cheese.